Here's a little DIY project brought to you by Chloe Adlington of the Adore by Chloe blog, which is packed full of wedding DIY and craft tutorials. I figured if I featured this tutorial today, you have five whole days to print this off and get all the bits and bobbins necessary for weekend project 😉 {just call me considerate}. The great thing about this project too is that it costs next to nothing to produce.
Anyway have fun peeps, and over to you Chloe…
Hello. It’s lovely to be on these glamorous pages sharing one of my recent DIY projects with you. It’s been on my ‘craft to-do list’ for a while so when my friend Karen offered to teach me I jumped at the chance to see how it’s done {as well as have someone hold my hand whilst I used a power tool!}…
Love My Dress Wedding Blog – Photography Copyright (c) 2012, Butterworth Photography
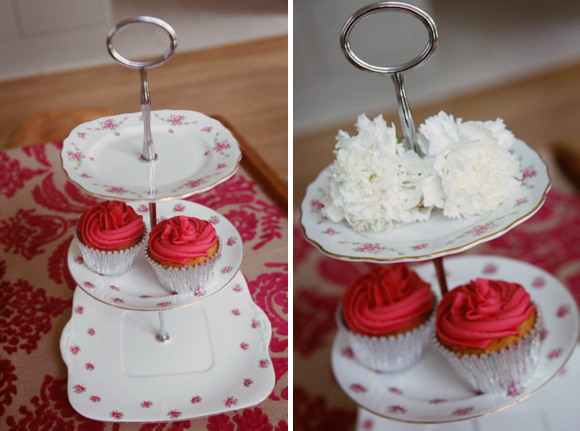
To make them you will need…
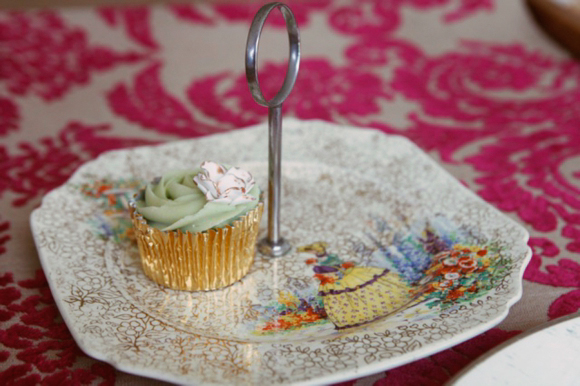
 Vintage china – you need three items descending in size, for example a tea plate, a starter plate and a cake plate
 Three tiered cake stand dividers (ebay)
 Masking tape
 A drill with a 6mm diamond head
 A wooden chopping board
**Top Top – A decent set of cake stand dividers should cost around £8 and include the screws, divider rods and little foam washers you need. You can buy them cheaper but they won’t be as sturdy.
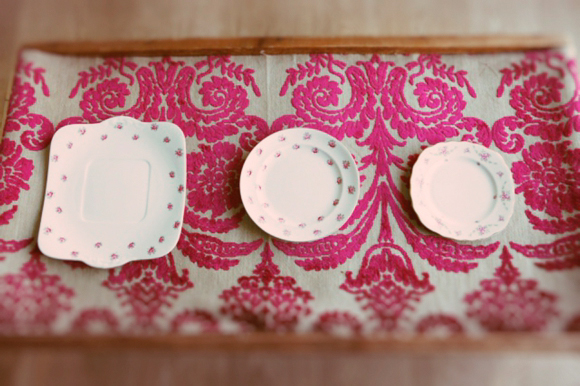
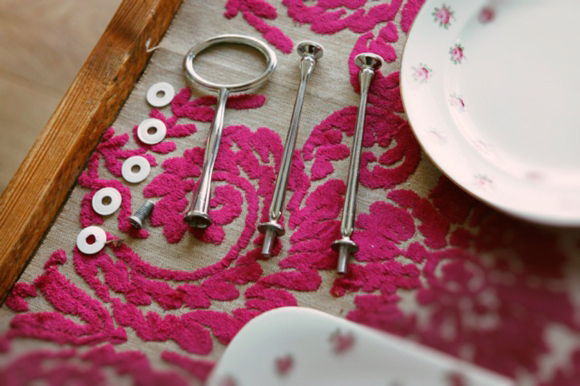
How to make them..
Step 1 ~ Measure and mark the centre of your largest plate. Many cake stand dividers will come with a clear plastic guide like the one pictured which makes it much easier…
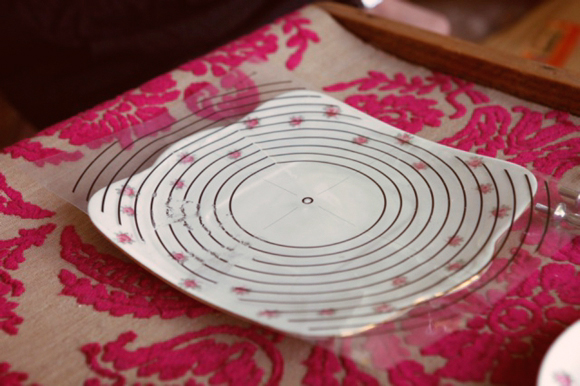
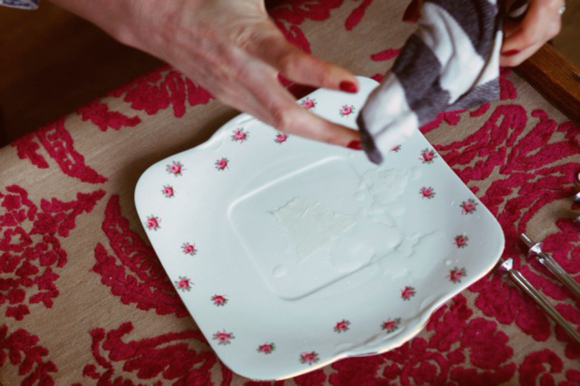
Step 2 ~ Over the centre put a small piece (about an inch) of masking tape, which stops the plate from splintering when it’s drilled…
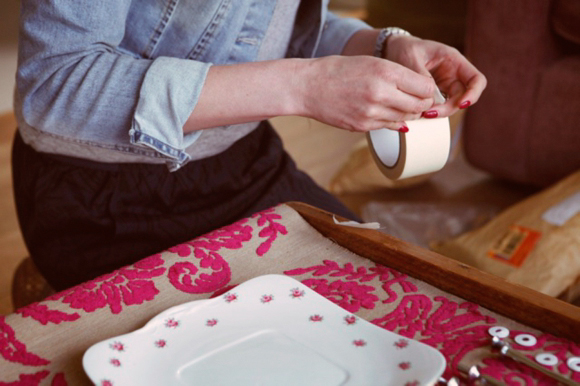
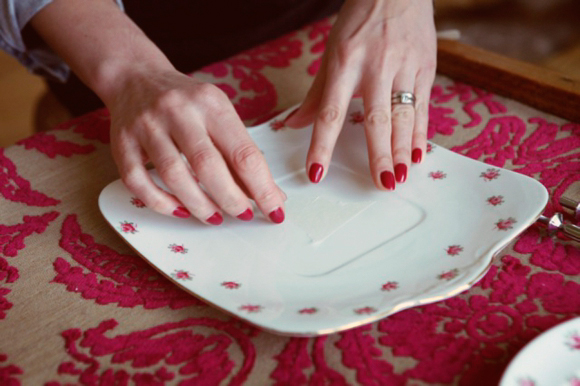
**Top Top – Adding a few drops of water to the masking tape will keep the area cool and help prevent cracking!
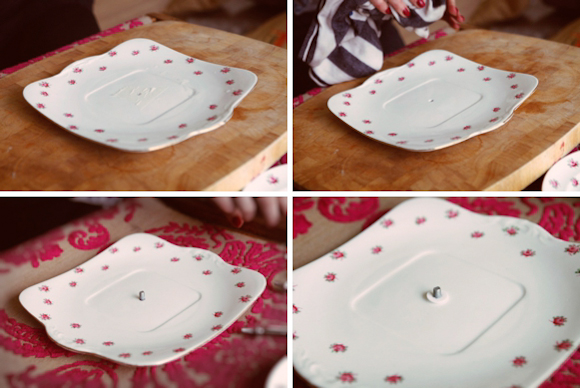
Step 3 ~ Place the plate onto a wooden chopping board and drill the centre hole (please be careful and wear safety goggles for this bit)
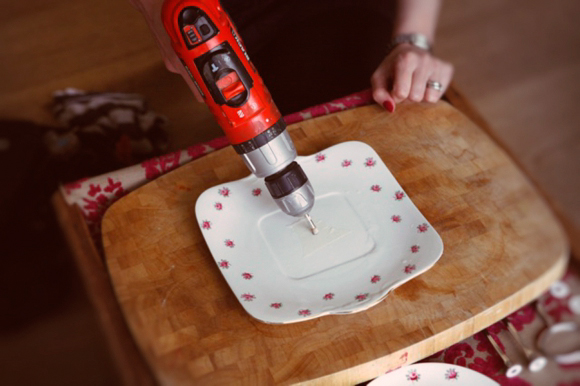
Step 4 ~ Remove the masking tape, wipe the plate and repeat with your other items.
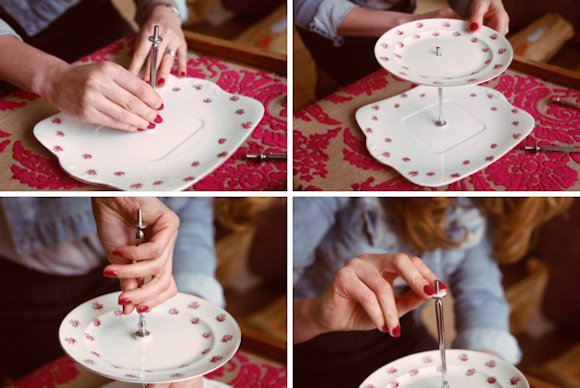
Step 5 ~ Now you can start screwing it all together! Starting with a flat-bottomed screw in the biggest plate, the first dividing rod, then your middle plate. Use little foam washers in between the china and any screws as this will protect the china.
Step 6 ~ Continue building with the second divider, your third plate and the final handle piece to finish!
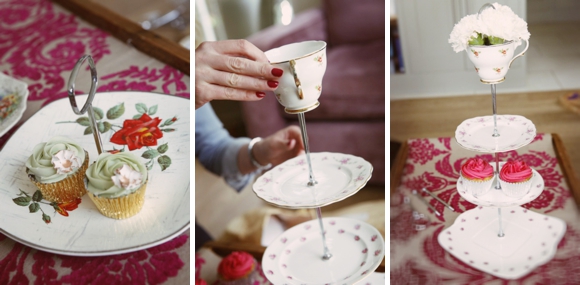
And that’s it! You can buy other types of the divider kits to play with different stand set-ups too…
For lots of more DIY projects, crafty wedding ideas and recipes pop by my blog and say hello. I’ll pop the kettle on. You can also see more DIY projects on Love My Dress here.
Happy crafting,
Chloe

Credits
Photography – Butterworth Photography
Styling & vintage china – Darby and Joan Vintage
Tutorial & Words – Adore by Chloe


